Resources / GUIDES
How to Create Your AR Mirror: A Step-by-Step Guide
From choosing the setup to defining the experience level, here is how to configure an AR mirror for your brand. In-store, storefront, or pop-up.
By Cynthia, Co-founder · March 2026 · 7 min read
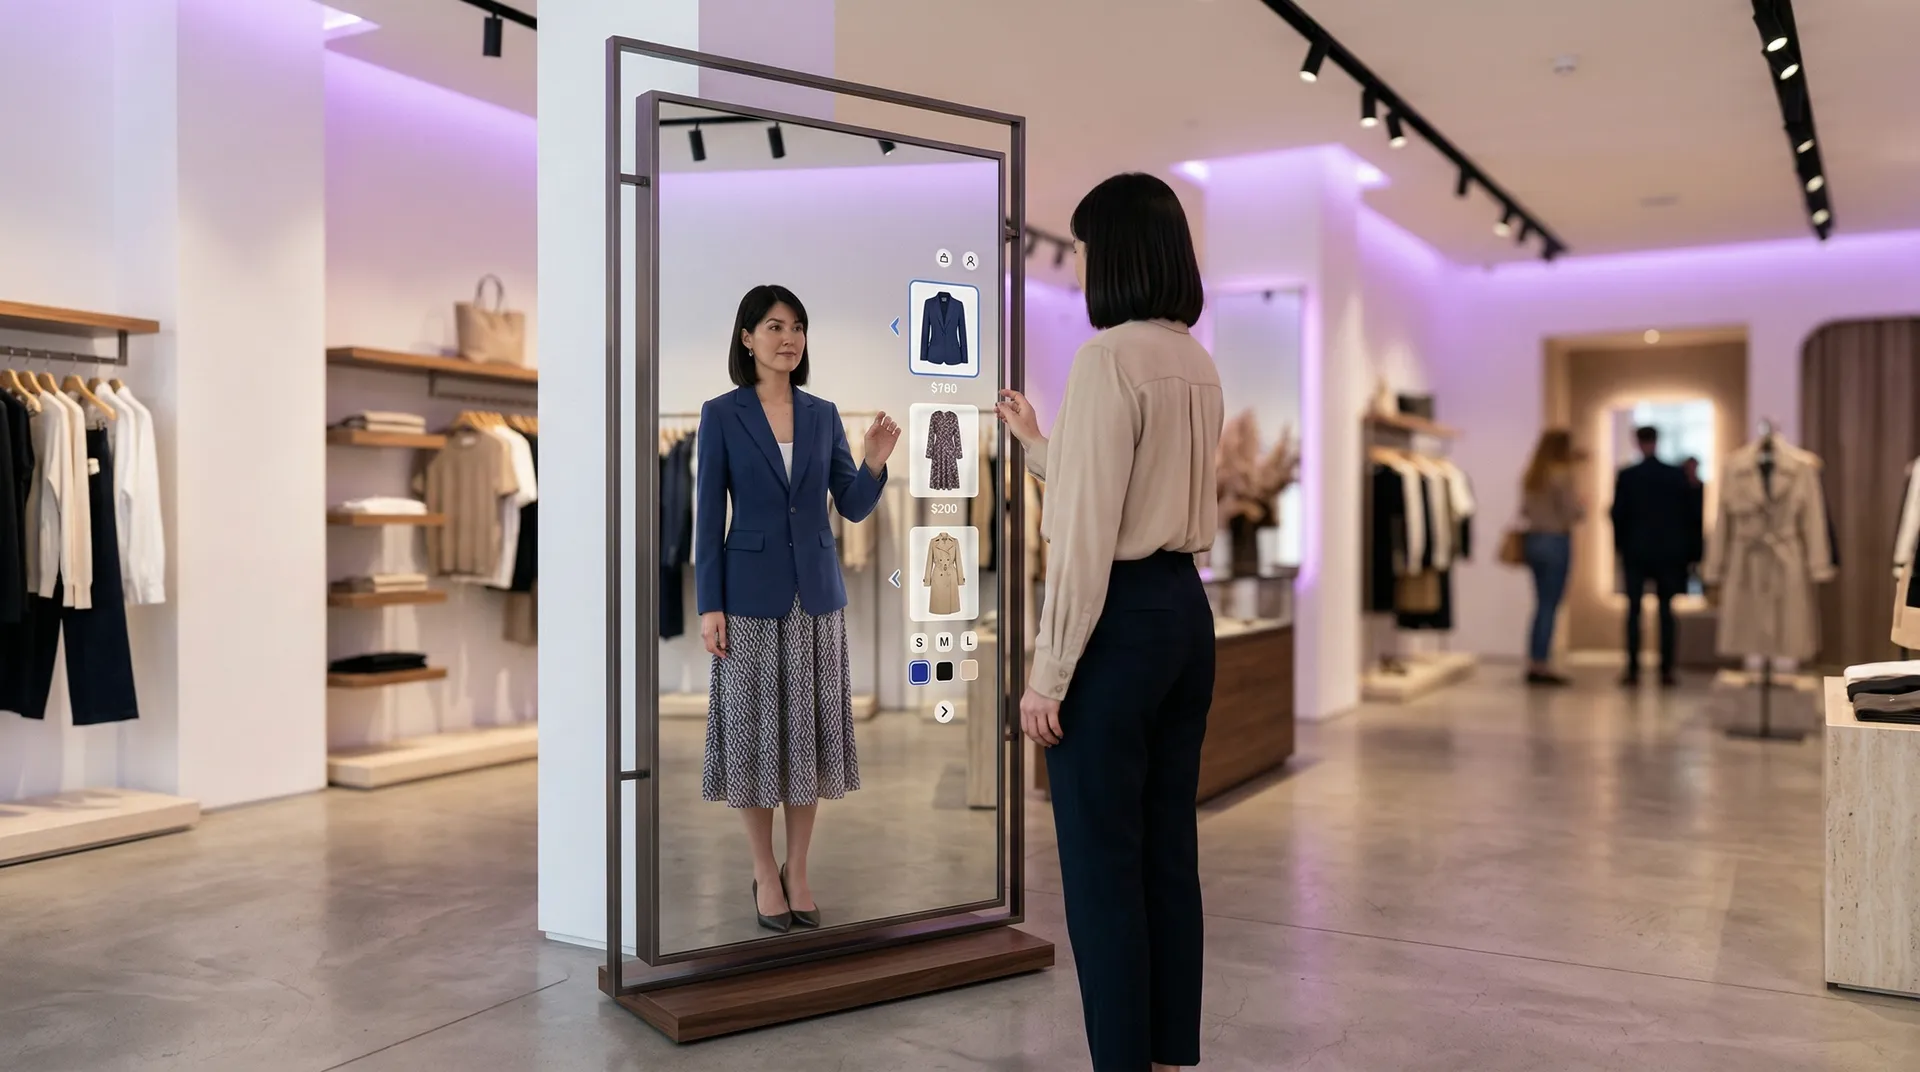
Every AR mirror is different, but the process of creating one follows a clear structure. Whether you are setting up for a flagship store, a storefront window, or a pop-up event, these are the six decisions that define your mirror experience.
1. Choose the Setup
Where will the mirror live? Start here because everything else follows from the environment.
- In-store: Sales floor or fitting room area. Shoppers try on your catalog without physically changing.
- Storefront: Faces outward through the window. Attracts passersby. Works even when the store is closed.
- Pop-up: Travels to events, launches, and temporary spaces. Designed for portability.
Each setup has different spatial, power, and connectivity requirements.
2. Choose the Mirror Display
The physical display determines the scale of the experience.
- 13 inch (Tablet): Portable, affordable. Ideal for countertop activations or multi-location tours.
- 65 inch (Standing): Full-body tracking. The standard for most in-store and event deployments.
- 85 inch+ (Large format): Custom builds for flagship locations and high-traffic trade shows.
- Customized: Non-standard sizes and formats for unique spaces or creative requirements.
3. Specify the Items
What will shoppers try on or interact with?
Fashion:
- Tops, pants, jackets, dresses
- Footwear, sunglasses, hats
- Accessories, jewelry
Beauty:
- Makeup looks (lip, eye, skin)
- Hair color and style effects
- Product visualizations (like Schwarzkopf's Gliss effects)
Environments:
- Branded backgrounds and themed worlds
- Custom settings (like the Bridgerton ballroom for NYX)
4. Customize the Setup
Two dimensions of customization:
Spatial:
- Wall-mounted vs. freestanding
- Landscape vs. portrait orientation
- Integration with surrounding retail design
Branding:
- Your colors, logo, typography
- Branded frames and overlays on captured content
- Custom transitions and animations
5. Define the Duration
How long will the mirror be deployed?
- Per number of days: Short activations, trade shows, weekend events
- Per number of weeks: Seasonal campaigns, limited-edition launches
- Per event: One-off product launches, press events
- Per season: Ongoing in-store installations, permanent fixtures
Duration affects logistics, content rotation strategy, and pricing.
6. Set the Experience Level
This is where the mirror becomes more than a display.
Interaction:
- Tablet touch
- Gesture control
- Voice commands
- Photo and video capture
Integration:
- Add-to-cart functionality
- QR code linking to product pages
- Size and fit recommendations (powered by The Platform)
- Direct purchase flow
The experience level determines whether the mirror is primarily for engagement and content generation or for direct conversion.
---
Polypo's Studio team handles all six steps. From the initial scoping conversation to on-site installation, the process typically takes three to six weeks depending on complexity.